Showing posts with label Sewing. Show all posts

Sunday, June 22, 2014

My DIY Kinde Case- Because Sewing and Reading are Life

 Ooh, pretty, but was is it? It's my DIY Kindle cover. Why? Because I needed one.  Cool yes?
 I decided I wanted one that would stand up, and not just keep it from getting dinged up in my bag. I would have just bought one, but I wanted two things that weren't going to happen if I bought one. I wanted a pretty floral (hello Amy Butler Ginger Bliss, circa 2005) and I needed it that night. Well, perfectly girly and immediate just doesn't happen all too quickly, so, I had to get creative.


Basically, I traced neatly around my new Kindle onto two layers of that plastic grid my grandma was always trying to teach me how to cover in yarn to make nifty over large cross-stitch-esque designs. Yeah, that never happened, but it is nice and stiff.

Once I had two pieces that matched my kindle of said plastic grid, I cut one into two pieces lengthwise about 2/3 of the way across. (that way those two pieces bend when everything is put together).

Then I cut matching pieces of felt and hot glued them to either side of the plastic grid for softness.

Next I cut four short pieces of elastic and one long piece of elastic, and the strip of fabric for my case cover. I determined it's size by laying out my three case pieces on top of the fabric, with about a quarter inch between the one that went behind that back of the kindle, the narrow one, and then about an eighth of an inch between the narrow and the last one, (the narrow will go in the middle) on the wrong side and tracing around them lightly in pencil. Then, I moved the pieces as though mirrored from those positions, outward, so that I traced a second large rectangle outside the largest rectangle, a second midsize next to the midsize, and a second small on the end, because in the end, I wanted my opening to go in the middle. Once I had all these rectangles marked out, large large, small, medium, medium, small, I added a 1/4" seam allowance around the whole thing, and marked that in, then cut out the long rectangle. Then it was just a matter of lining up where I wanted my elastic to go: four  short pieces situated so they'd cross the corners of the RIGHT SIDE of the end with the first large rectangle - you'll want to fold under the edges on the end that will be visible and finish it nicely, but that's only the two on the fold between the two large rectangles. Stitch them in place at the ends. They need to be tight because these will hold your kindle in place, so cut them a touch short and pull them a bit taut when you put them in.
Then put the long piece all the way across the RIGHT SIDE  approx 1" from end between the two medium sized rectangles, and stitch it down, just at the ends. When you're done, this is what will hold it close.

Now, you'll want to press the far ends (one end of a large and one small rectangle) under. Then fold these two bits toward the center so they just meet and stitch along the top and bottom, like you're making a pillow sham.

Then, the whole thing gets flipped right side out, the rigid felt covered parts slide in. Stitch between the split ends of the front cover so the rigid cover pieces don't slide around, and then along the edge of the narrow one between it and the opening.  Woot! Almost done. Slip the Kindle in to see if the elastic holds it. If it's too loose, use a needle and thread to tighten up the elastic. If you pulled it during the insetting phase, you should be peachy.

Now, the unsightly opening. I covered mine with a strip of ribbon neatly hot glued in place. Why? Because it was quick.

Last things last. Take a strip of the plasticy stuff about an inch by three inches, cover it in the coordinating fabric, and hand stitch it along the top and just a bit down either short side about an inch and a half from the far end of the back of the cover, to hold the folded front as a stand.

And then you're done.
Woohoo! Enjoy some good reading, or stream some movies. Live is just more fun with a good cover.

My apologies if that was hard to follow, but the whole process was pretty intuitive. You'll be fine. Seriously. You will.
If you don't want to have to deal with folding your elastic under, you can add an extra half inch between the two large rectangles, cut between them, attach the elastic, then sew them back together before proceeding. It makes for neater elastic ends, but it's more complicated from a construction standpoint. But you know, it's totally within your skill set.

Thursday, February 06, 2014

Geeky Girly Fabric Joy

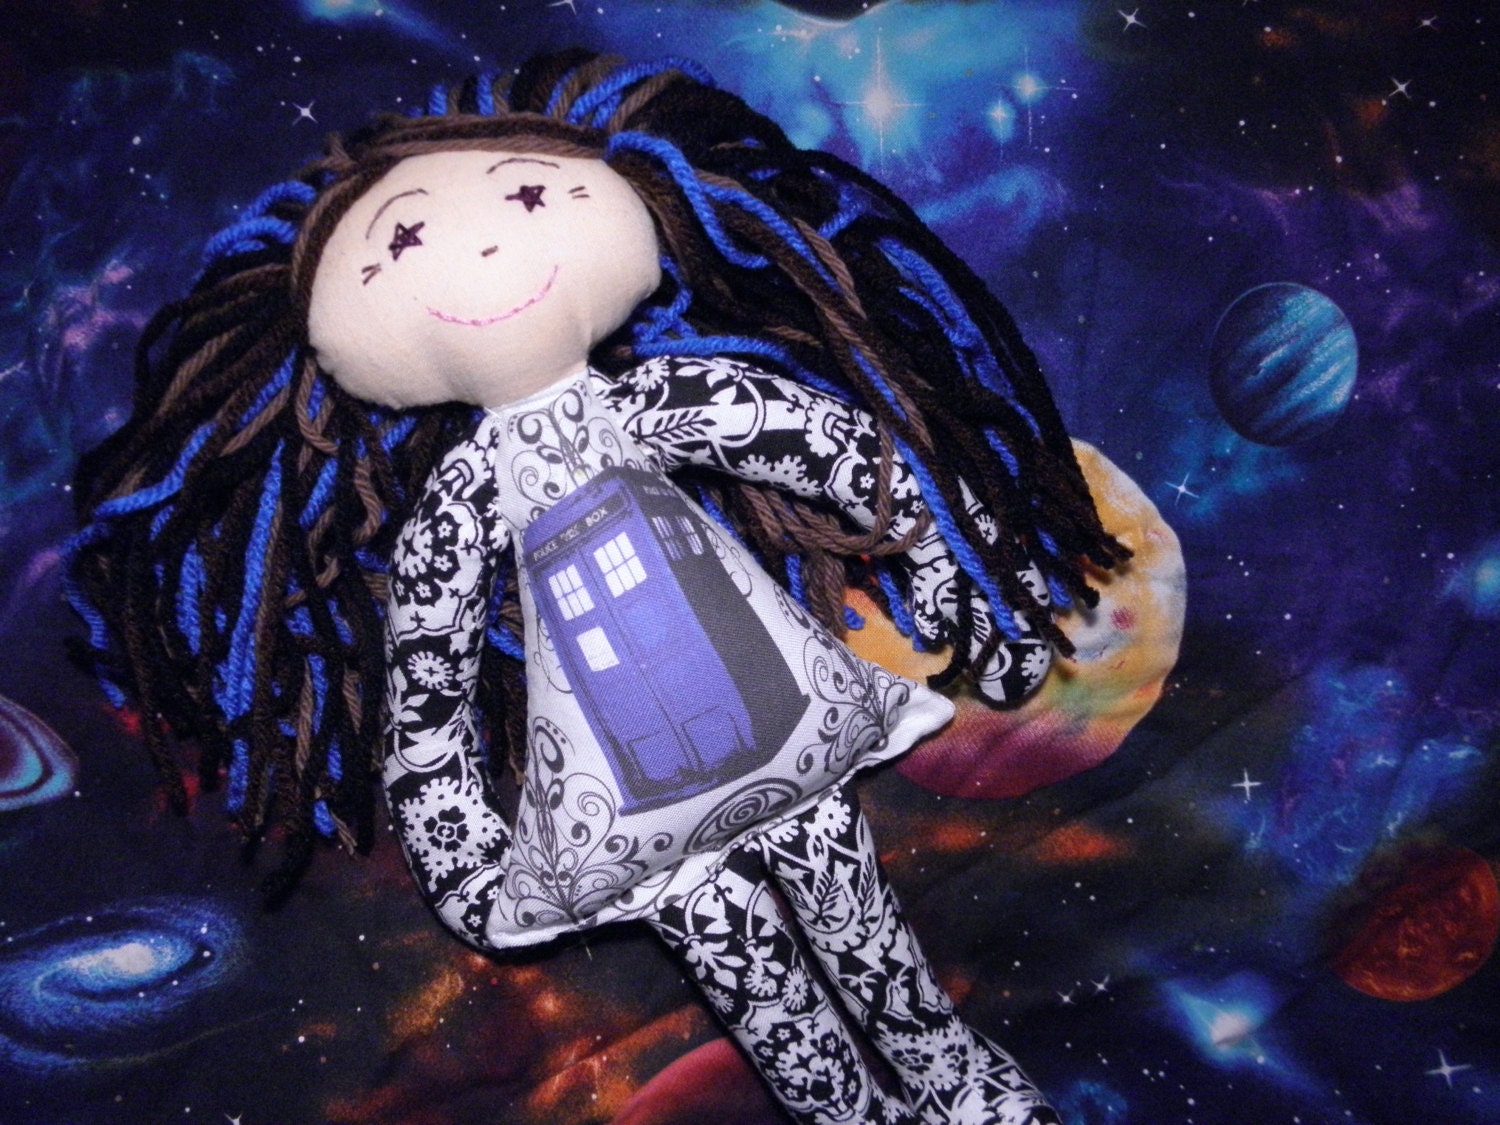
My new fabric swatch, One Ring Cathedral Window - Hot Pink, from Spoonflower came in the mail today, and it's even prettier than I expected. I'm thrilled. I forsee myself getting some of this printed off to edge some pillow cases, and possibly shrinking it down a bit for some more geektastic Raggedy Rebels. I missing having the truly nerdy dolls in the shop.

Of course, I'll have to shrink it a lot to make it a doll size print. I can't  help but think that the One Ring Cathedral Window print, in all the different colors I have put it out in, would make a FABULOUS bow tie or neck tie fabric. Of course, I'm partial to bow ties, you know, because bow ties are cool.

Thursday, January 17, 2013

Repurposing the Ubiquitous Altoids Tin

 Remember when I demonstrated how to fold an vast amount of bias tape quickly? Well, if you've started making lots of it and have it coming out your ears like some woman I know, you might be wondering just how to keep it from becoming a tangled mess.

The obvious answer is "wrap it around something. But what?
A piece of cardboard, like commercial bias tape is packaged, leaves those obnoxious creases in your special bias tape. This is why I don't use a flat piece of cardboard.

A cardboard tube such as is I the center of a roll of paper towels (or toilet paper) works much better, but it's garbage day, and the recycling has already been picked up, so I needed something better. Enter the ubiquitous Altoids tin. I can never seem to toss them in the recycling bin, they're just so handy! So, there's usually an empty one floating around my house.

I simply inserted one end into the tin, closed it, and wound the bias tape around it, then secured with a pin.


Easy Peasy


I like that it isn't going to crease my hard-earned bias tape, and I like that I can stack them in my sewing closet a little better than rolls around tubes. Alright, I admit I also like it because it's an excuse to expanding my Altoids tin collection.

Happy sewing!

Wednesday, January 16, 2013

Folding 5 yards of bias tape, in 10 minutes.

Try It Tuesday


So you've taken the fabric you picked to make your own homemade bias tape and turned it into a parallelogram of doom. You've marked it, folded and pinned it so that the first marked strip pins to the second and so on. You've pinned it, lost hope and stitched it anyway, all the while grateful you decided to try it with a fat quarter instead of larger yardage. You took your twisty wonky mess to your sewing machine, stitched skeptically, then used your good shears to cut out one bit continuous string of fabric, on bias.
That's a triumphant place to be, but also a daunting one. If you're like me and cut those strips at 2", suddenly you have just over 5 yards of bias tape, and therefore a LOT of edges to turn under and press.
Yeah, major time suck.
Well, I don't believe in time suck, so here's what you do to quickly turn that strip of bias tape into something functional.
Get TWO long needles and a ruler. Decide just how wide you want your bias tape to be when both edges are turned. I went with an inch.
Take your pins and put them, about 2" apart so they go through your ironong board cover and back up, then through and up again, so that the space created in the middle of each needle, over the ironing board, is your desired distance, in this case, 1". do it with both needles, 2" apart. It sounds complicated, but it really isn't.
Now hand turn the edges at one end of your bias strip and feed it through the needles. Pull it out about six inches, slowly, and press this section. It's "the hard part."
Now, your can take the ironed end of your folded bias tape and just pull the rest through, under your iron.
You'll want to move your iron around a little so you don't scorch your ironing board.
If the bias tape starts feeding unevenly, just stand up your iron, manually readjust the fold a few inches away from the needles, and start up again. I find I have to readjust about ever 2 or three feet, but it's not a big deal, and still so much faster than painstakingly folding down one edge, and vastly superior to spending money on one of those "bias tape maker" contraptions. It's a free modifiable bias tape maker that you didn't even know you already owned. Pretty cool, huh?


Thursday, November 01, 2012

Letter Soup

Typically, November first means that my keyboard and I are going to get really cordial with one another. NaNoWriMo, National Novel Writing Month, and NaBloPoMo, National Blog Posting Month, usually keep me pretty busy.

So, as I was logging on to the appropriate sites to register and chronicle the many hours I'd be spending staring down the white spaces on this flickering screen, I remembered something. I don't love Blogher (gasp, I know!) and so I'm not going to be doing NaBloPoMo this time around. This is a good thing, because it clears up time for me to work on costumes for TeslaCon, and by costumes, I entirely mean clothing I'll be actively looking for opportunities to wear in my every day life. You know, a ball gown to go to the grocery store, corset holster for carrying the mail.  It's going to be a lot of fun around here.

Now to get back to my NaNoWriMo project. It won't finish itself.

How are you keeping busy?

Wednesday, October 17, 2012

Let Them Play Dolls

In the spirit of the Halloween season, I spent the evening in the Sewing Cellar working on a Marie Antoinette Zombie doll.

They cut off her head, but now she's back, and she isn't looking for cake.

I'm pretty pleased with how she turned out. This was my first attempt at a cut & sew fabric design from both perspectives. I'd never designed one, and I'd never tried to sew one before either. She came together almost exactly the way I had envisioned, and all in less than the time it took my daughter to watch the latest in awful vampire dramas on television. :-)  The hardest part was turning the sewn doll body. I always struggle with turning, and this was no exception.

Now that my ghoulish gal turned out so well, I may be on to making more cut and sew dolls. It was a lot less labor intensive than my usual process, and since I had the design printed on Kona Cotton, she's just as durable as my typical Raggedy Rebels.

Now that I spent this evening playing, tomorrow it's back to the serious work of sewing on Halloween and Teslacon costumes.

What are you working on these days? 

Saturday, August 20, 2011

My Favorite Fiction, on Fabric!

A while ago I got to give away fabric from a site that allows you to design your own fabric, but I'd been pretty lazy and hadn't bothered to create my own.  However, I've had too much Doctor Who on the brain lately, and have been doodling things like TARDIS and Dalek paisleys.  So of course, this led me to photographing them and photoediting them into a fabric design.  Isn't it nifty?
I've been having a lot of fun with it. Sure, it's a bit pricey, but I think that I'm going to save up and get myself some for Christmas. Even if it's just enough to make a pillow case for the JabberWalky or Mongoosine's bedroom.
I even made one just with Daleks.  
Maybe this one for Mongoosine and the TARDIS one for JabberWalky?

The paisley designs themselves were actually done in sharpie on shrink plastic, and will soon get holes punched in them and be shrunk down into necklaces.  I make a lot of necklaces based on my favorite fandoms.
Nifty Eye of Jupiter Mandala shrink plastic necklace inspired by Battlestar Galactica. 
Yes, I'm a Science Ficton kind of girl.  

How does your favorite fiction influence your craftier side? I'd love to know.

Saturday, July 16, 2011

Spoonflower Giveaway

Once in a while, an opportunity arises to give your readers something fantastic. This is one of those.
While I've been sew busy around here lately, I've also spent a ridiculous amount of time looking at all the beautiful fabric designs on Spoonflower. And by beautiful, I mean geeky, and by designs, I mean TARDISes.  Because that's how I roll.  
In case you aren't familiar just yet, Spoonflower is an on demand fabric printing company that lets you design, buy, and sell fabric designs that perfectly fit what you want, opening up the artisan's world of fabric possibilities immeasurably.
Spoonflower has a plethora of different fabrics on which they can print.


You can pick sizes from a 5x5" test swatch, fat quarters, yards, and many many yards.

You can read about their design guidelines here.  
They even have a color chart so you can design in colors that print best with their printing process.


I love this site and spend too much time drooling over the possibilities.  You can check out their flickr pool to see what people have done with their fabric. 


Would you like to try out some of that creative fabricy goodness?  Well, if you would, you'll be happy to know that Spoonflower has deigned to give one lucky Paisley & Pretties reader a $50 gift certificate to use on their site!

How to enter-
Mandatory Entry-
Sign up for a Spoonflower account and comment below with your Spoonflower username.  

Extra Entry options-
Leave a comment with a link to your favorite fabric design.
Upload your own design and comment with the link.
Make a purchase from Spoonflower of any amount during the contest. Leave a comment letting us know what you ordered. (If you win, you need to show proof of the transaction of some sort, email, screenshot, something.)

Contest will run through Midnight on July 30th 2011.  Winner will be selected via Random.org. Winner will be contacted via email and have 48 hours to respond.  If winner does not respond, a second winner will be chosen via some bizarre method that amuses me.

Why are you still reading this, shouldn't you be signing up for a Spoonflower account?

Disclaimer- I am not being compensated in any manner for this post.  I have not received any product or other compensatory item.  Have a nice day.

Wednesday, July 06, 2011

WIP


These two are *almost* finished. So close to finished they'd be finished if the toddler hadn't just decided to wake up and demand nursing.
Wish me luck, because I want to get them finished and grab some good outdoors pictures before I loose the light!

Sent from the TARDIS Intergalactic Temporal Mobile Service

Friday, July 01, 2011

Big Questions

Since he's more and more interested in using the potty chair all of the sudden, I have a deep and important question for all you DIYers out there.
Do you think we should go ahead and buy some pull up training pants, or should I make them myself?

Opine.


Tuesday, June 21, 2011

Tutorial Tuesday: Pillow Case

I like making pillow cases. They're quick, easy, and a great way to add some interest to your bed, or to lug your laundry home from a week camping.
Pillow cases make me happy.
Because I heart pillow cases so much, when I made my nephew a blanket for his birthday, I decided to make him a coordinating pillow case too. 
 I keep thinking that I need to make a set of three matching pillows for our bed, one for myself, one for spouse, and one for the JabberWalky, since we co-sleep.

About this pattern/tutorial:
This pattern makes a Standard sized pillow case.  The method can be adapted for other sizes of pillow, however, I have not yet crunched the numbers, and it would not be as elegant as a simple "one yard." And since I'm putting this pattern out there for free, I'm too lazy to do the other figures right now.
This design leaves no exposed raw edges by using French Seams. They're not complicated, and I explain the process, but you can be proud of yourself for having learned how to do them when you're finished.
Have fun, feel free to play with fabrics, and look forward to seeing variations posted in the future.


For a How-To on how to make the child sized blanket, see my Blanket Tutorial.


Materials:
1 yard quilting cotton
2" to 4" strip contrasting fabric
Matching or delightfully contrasting thread

Tools:
Sewing Machine
Iron and Ironing Board
Scissors
Rotary cutting mat
Rotary cutting ruler
Rotary cutter

Step 1:  Pick out your fabric.  This may take months, it's okay.


Step 2: Wash, dry, and iron fabric. This is crucial to having a long lasting finished item that doesn't look like it was sewn by the cat.


Step 3: Cut a 9" strip of fabric from your one yard piece from selvage to selvage. You will now have two rectangles. One 27"x 42"-44", and another 9"x 42"-44"

Step 4:  With Right Sides Together, pin contrasting fabric to the larger piece of your main fabric.  Stitch together with a 1/4" seam allowance, remembering to backstitch at beginning and end.  Remove pins, press seams flat toward contrasting strip.


Step 5: With Right Sides Together, pin 9"x 42"-44" strip of main fabric to the contrast fabric. Stitch together with a 1/4" seam allowance, remembering to backstitch, backstitch, backstitch.  Remove pins. Press seams open.


Step 6: Fold over and press a 1/2" hem along edge of smaller section of main body. Stitch in place


Step 7: With WRONG sides together, carefully fold down hem so that it completely overlaps the contrasting strip, aligning the seam lines. ( I skipped sewing in my hemline as it's a redundant step, but if you're nervous about alignments, it's a good idea)


Step 8: Pin in place sparingly, flip over, and slowly stitch along the seam between the contrasting strip and the main body.


Step 9: With WRONG Sides Together, pretty side OUT, fold "hotdog style" so that you have a rectangle approximately 22" x  38" (Approximately because fabric widths vary and the width of the contrasting stripe can vary per your preference.)  Pin the long edge and the edge furthest from the contrasting stripe, leaving the hemmed area unpinned.


Step 10: Using a 1/4" seam allowance, sew far and long edges, remembering to backstitch. Pretty side still out.

Step 11: Turn inside out and iron seams so it all lays down nicely.  Now it is Right Sides Together. Pin  along the long side and the far side, so you don't get confused about where you're sewing.


Step 12: Using a 1/2" seam allowance, stitch the long and far sides.  Remember to backstitch where you start and stop. Clip loose threads.

You've just learned how to sew a French seam.  Pat yourself on the back.

Step 13: Turn right side out and enjoy


GREEN TIP*If you are making a pillow case and blanket as a gift, I say fold the blanket neatly and wrap it in the pillow case.  It's cute, efficient, and saves wrapping supplies!

Monday, June 20, 2011

UFOs

Just before my son was born, I was working on a quilt for my daughter.
Here I had it all laid out on the bed, trying to decide just which colors would flow nicely into the others.


Sadly, I was placed on bedrest and I put it away.
Then, when my son was born, I became bizarrely paranoid about ironing with him in the room. What if there was a freak accident with the iron and he got burned? Well, certainly I can only quilt while he's sleeping then, right?
But laying out a whole quilt takes up a lot of space, and what if I accidentally make a mess? What if I loose a piece?
Well, maybe if I just work on it in parts while he's napping.
But he sleeps so much better if I nurse him down.... and then I want to lay there and cuddle.

You get the idea. The reasons compound.

Since then I've made more than 20 sock monkeys,


 bunnies


bears, 


and other creatures,

 upwards of 15 dolls,


 at least 2 purses, 

one complicated hexagon quilt, 

eight blankets, 


three slings,

one pillowcase, 

and a couple hats, 

And some other odd projects of which I seem to lack photographs...

but I still have this UFO staring me down.

What sorts of projects do you have on hold, and what *really good reasons* are you using to convince yourself not to finish?

Sunday, June 19, 2011

Tutorial: Toddler Blanket

This year for my nephew's birthday, I decided to make him a blanket and matching pillow case.
 I made blankets for all of my parents' other grandkids for Christmas, and a couple of their half-siblings, so it was time to make sure the latest toddler on the list had a blankey too.
For toddlers, small children, and people who like a light weight blanket while watching tv, I like to make them either 42"x60" or 42" x 72".  42"x72" is what my great-grandma called "bunk size," and was about the size she made all her quilts for children, since they didn't need them hangin' off the bed and makin' a mess.  She sold quilts by the side of the road and pieced ones for her own family from the scraps from the ones she'd sell.  To make a baby blanket I would reduce the size to 42" x 36" or use the same size, because I'm a big fan of borrowing my kids' baby blankets when I'm watching Doctor Who.
(note- finished blanket sizes are closer to 41"x59" or 41"x71")

What you need:
 Fabric-
2 yards quilting cotton, 2 yards Minky. (If you want to make the blanket only 60" long, you can get away with only using 1 1/3 to 1 1/2 yards of Minky, as it is 60" wide)

Thread- matching or complimentary to your fabrics
Iron
Ironing Board
Scissors,
Pins
Either Measuring tape or cutting board and rotary cutter with rotary cutting ruler.  I highly recommend  using rotary cutting methods as I'm awful with scissors.
Sewing Machine
Bobbin
Extra needles for your machine.  If you don't have at least one, go procure one before starting any new project.

How to make the blanket:

Step 1:  Pick the fabrics that are going to make your heart sing. Then Wash and Iron the quilting cotton.
Step 2: Straighten your work area, double checking that you have all the supplies you'll need.
Step 3: Thread your machine and test your stitches and tension on a scrap of fabric.
Step 4: Cut  quilting cotton fabric to your desired size, taking care to cut straight lines at 90 degree angles.  Note- This is fairly easy if you are cutting for a 42" x 72" size blanket and you've bought exact amounts from a supplier who takes great care in their cutting of yardage, as your quilting cotton will already be the right size and you can trim your minky to match in Step 7. Because I didn't use exact yardages, I had to cut mine, and I used my rotary cutter to trim it to length.


Step 5: Lay fabrics flat  and smooth on top of one another, right sides together. (This is easier said than done. In order to keep the Minky smooth you need to have some amount of friction with it, so I usually lay it on a bed, carpet, or on top of an acrylic afghan to keep it from slip-sliding around.  Some people prefer to lay the cotton down first to act as the gripping agent.)

Static clingy afghan of goodness.

Step 6: Pin edges all of the way around.  At this point you have to decide where you want the opening to turn the blanket.  I usually place it about 10" from a corner, and use the length of my hand as a guide.

I mark the extremes of this area by double pinning at each end so I'll know where to stop and start stitching.  (This is a good time to cut the Minky layer if you still need to)
Step 7: Trim excess Minky away.

Step 8: Begin stitching at the first set of doubled pins and stitch around the entire blanket.  I usually use between a 1/4" and 1/2" seam allowance.  Always backstitch when beginning or finishing a line of stitches.  When I am a seam allowance's length from the end of a side, I lower my needle through the fabric, raise the foot, and turn the fabric. Then I lower the foot again and continue stitching so as to not have to start a new seam.  At the second set of double pins, backstitch, remove from machine, and clip loose ends.


Step 9: Remove all those pins.
Step 10: Turn rightside out. I generally worm my whole arm into it and grasp the far corner, then pull it out first.

This is the fun part.
Step 11: See that open area? Time to handle that.
Take the whole mess and the pins back to the open area where you first pinned it and  carefully arrange the blanket so it lays flat with all of the seams nicely open.  This takes patience. You can iron the seams in place if you like, but use a low temperature, as the Minky is synthetic and can melt.
Step 12: Pin the edges so that the nice seams you've just lined up don't move around. Be sure to carefully turn in the open section and pin this area more densely than the rest of the blanket, again marking the starting and ending points of the opening with doubled pins.
Step 13: Starting with the opening, stitch all around the entire blanket, remembering to backstitch at the end as before, turning at the corners.

Step 14: Remove all pins except the doubled pins.
Step 15: Gently pull back the seam between the double pins to make sure that it is properly closed and there are no exposed raw edges.  If necessary, run a second seam between the doubled pins nearer the edge to make sure to enclose any raw edges, backstitching at the beginning and end.
Step 16: Trim all loose ends
Step 17: Take pictures so you can show off your spiffy cuddly new blanket masterpiece.

This is anotherI've made using that technique:

Ta-Da!