Try It Tuesday

So you've taken the fabric you picked to make your own homemade bias tape and turned it into a parallelogram of doom. You've marked it, folded and pinned it so that the first marked strip pins to the second and so on. You've pinned it, lost hope and stitched it anyway, all the while grateful you decided to try it with a fat quarter instead of larger yardage. You took your twisty wonky mess to your sewing machine, stitched skeptically, then used your good shears to cut out one bit continuous string of fabric, on bias.
That's a triumphant place to be, but also a daunting one. If you're like me and cut those strips at 2", suddenly you have just over 5 yards of bias tape, and therefore a LOT of edges to turn under and press.
Yeah, major time suck.
Well, I don't believe in time suck, so here's what you do to quickly turn that strip of bias tape into something functional.
Get TWO long needles and a ruler. Decide just how wide you want your bias tape to be when both edges are turned. I went with an inch.
Take your pins and put them, about 2" apart so they go through your ironong board cover and back up, then through and up again, so that the space created in the middle of each needle, over the ironing board, is your desired distance, in this case, 1". do it with both needles, 2" apart. It sounds complicated, but it really isn't.
Now hand turn the edges at one end of your bias strip and feed it through the needles. Pull it out about six inches, slowly, and press this section. It's "the hard part."
Now, your can take the ironed end of your folded bias tape and just pull the rest through, under your iron.
You'll want to move your iron around a little so you don't scorch your ironing board.
If the bias tape starts feeding unevenly, just stand up your iron, manually readjust the fold a few inches away from the needles, and start up again. I find I have to readjust about ever 2 or three feet, but it's not a big deal, and still so much faster than painstakingly folding down one edge, and vastly superior to spending money on one of those "bias tape maker" contraptions. It's a free modifiable bias tape maker that you didn't even know you already owned. Pretty cool, huh?
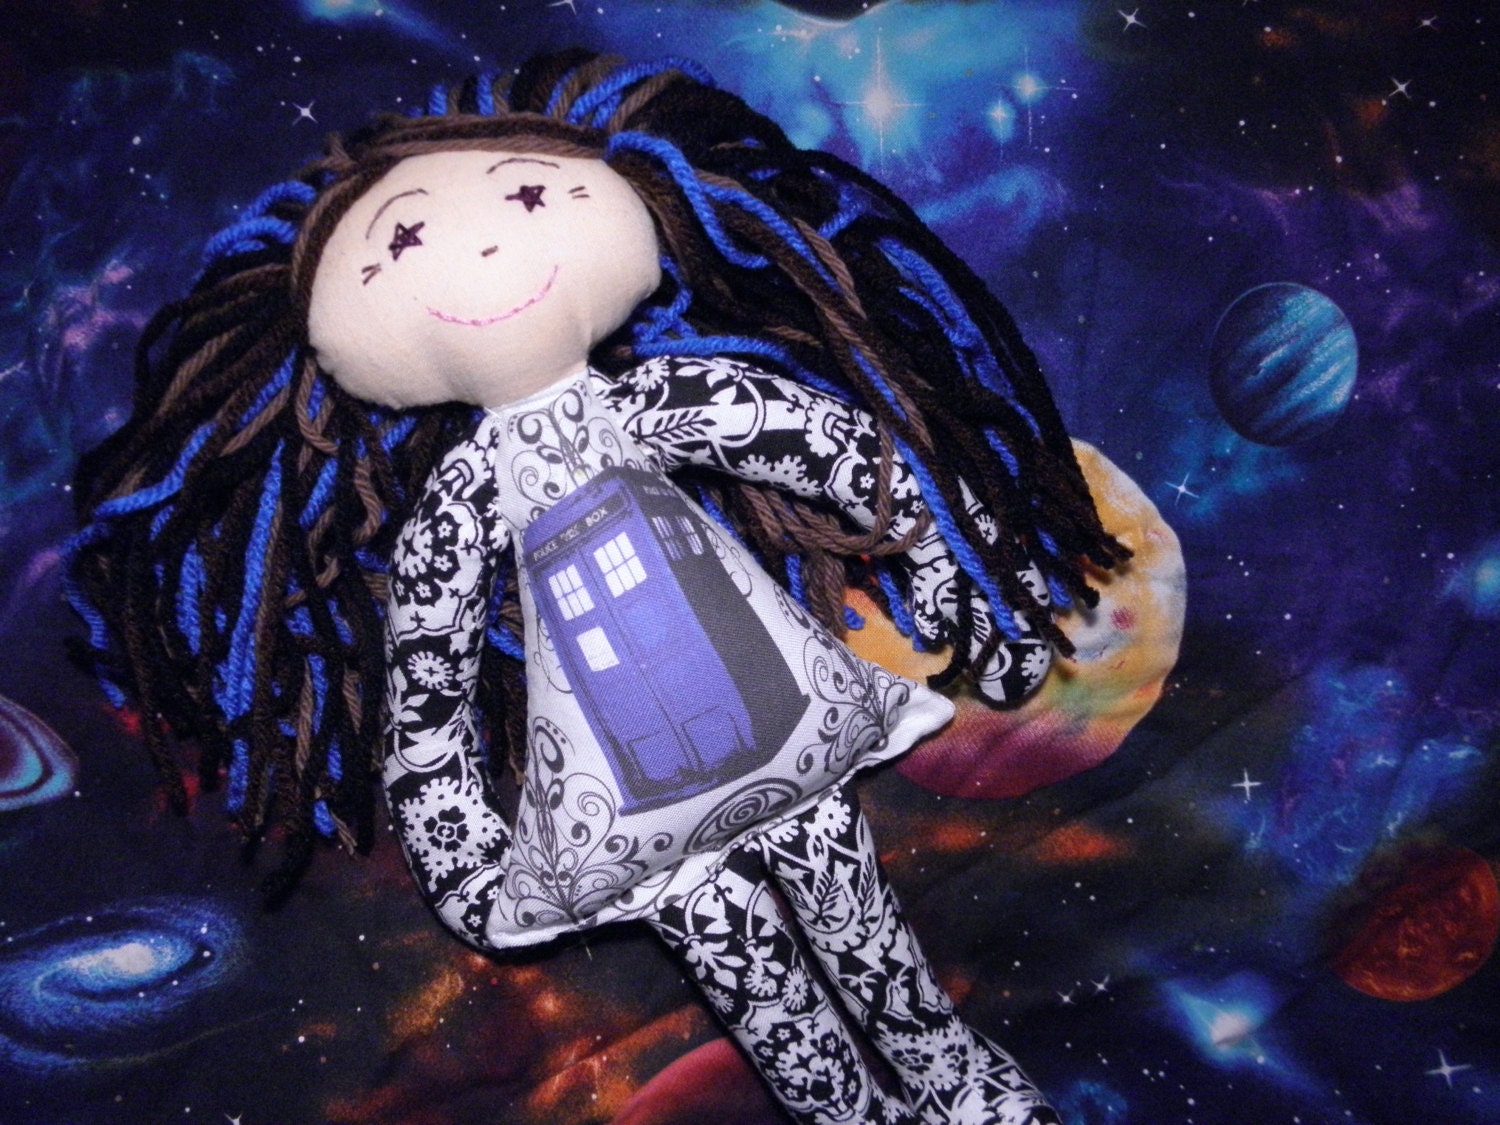
 My new fabric swatch, One Ring Cathedral Window - Hot Pink, from Spoonflower came in the mail today, and it's even prettier than I expected. I'm thrilled. I forsee myself getting some of this printed off to edge some pillow cases, and possibly shrinking it down a bit for some more geektastic Raggedy Rebels. I missing having the truly nerdy dolls in the shop.